How Do I Add Title Blocks?
- Home
- Help Documentation
- How Do I?
- How Do I Add Title Blocks?
The Design page Plan tool tab has a dedicated Title block tool for adding, creating or modifying your own title blocks and plan borders.
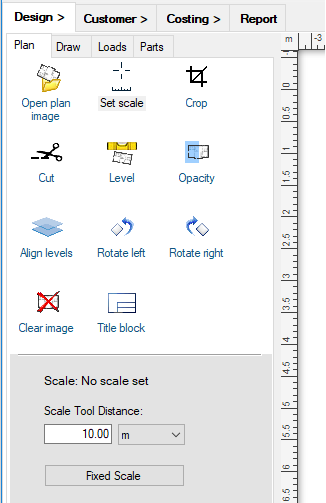
You use the Title block tool from its context menu - select the tool ( ), move it to the canvas, and
click the right button on your mouse to open the context menu. The context menu lets you add one
of the multiple pre-defined title blocks. Move your mouse over each one to see if it is close to
what you need:
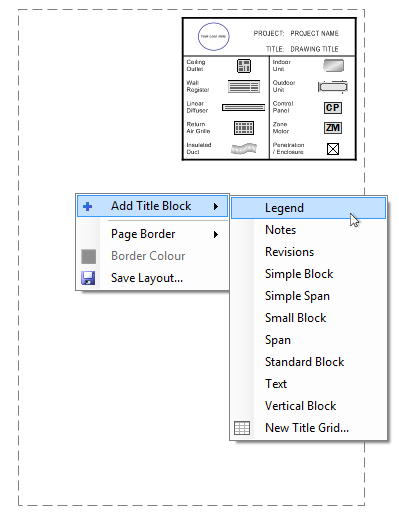
You can add an existing title block and enter your own details, or modify it to what you need. If you prefer to create your own title block from scratch, you can do that with the item New Title Grid. This will add an empty grid that you can customise to suit your own requirements. You can have multiple title blocks in a design.
Save Your Custom Layouts
A layout is a collection of one or more title blocks and a border definition that you can save for later reuse. Using the Save Layout option will add your layout to your own custom layout collection that you can reuse in another design by selecting the Set Layout context menu item.
Editing a Title Block
Opening the context menu on an existing title block will let you align it on the page, edit the table structure, and edit or format each cell's contents.
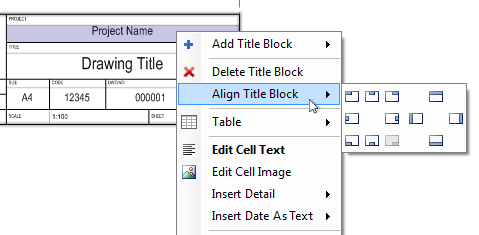
If you are starting with an empty grid, you will want to customise your layout by merging cells into the layout you need. The Table context menu item allows you to edit the table layout and merge multiple selected cells as you require.
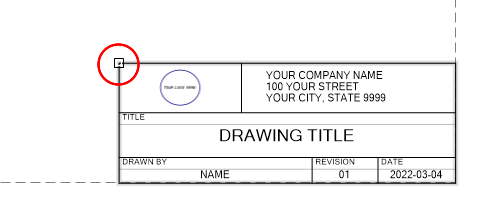
When the Title block tool is over your title block, the title block resize handle will be shown (highlighted in the image below). Drag the handle to resize your title block to the size you want.
Editing a Cell and Adding Dynamic Content
Each cell can contain either text or an image, and double clicking in a cell will go directly to editing its contents. A cell can also contain a special details tag, which will update the cell's contents dynamically. For example, you can insert the current date, customer information, page size and other information with the Insert Detail context menu item. A details tag is a special string that the program recognises, within the delimiters << and >>. If you want to insert a date that does not automatically update, you can use the Insert Date As Text context menu item to insert the current date.
Using Icons to Make Legends
The menu items Insert Part Icon and Insert Material Icon allow you to insert any icon image from your loaded catalogs or any material hatch swatch into a cell, which is particularly useful for making legends.
If you add a new plan level, any existing title block you have on the previous level will be automatically applied to the new level.
Page Sizes
The amount of space you have to work with on your page depends on the paper size you have selected (with the menu item File -> Page Setup), especially if you are using a block alignment that spans the width of the page. To achieve a good result when making a title block you will need to balance your paper size, the grid cell size you want to use, and the font size of any text that will fit inside each cell. You can adjust the text font size with the Title block tool context menu item Format Cells.
Page Borders and Print Areas
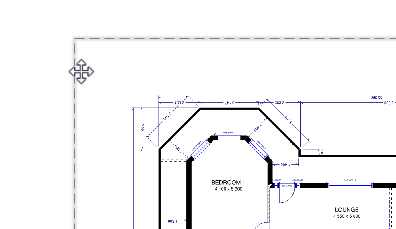
You can also add a page border and set its thickness and colour from the Title block context menu. The page border will show you the printed area of the design canvas, based on your printer settings. Drag the page border to position it where you prefer in relation to your design. In this way you can control the position of your design on the printed area, or which area of your design gets printed.
Print Scale
The Printing design scale Options settings Fit design to page does not reserve space for title blocks. You can reposition both the block and the print boundaries to get the best title block placement for your design, or manually set a fixed scale that is appropriate for your layout.